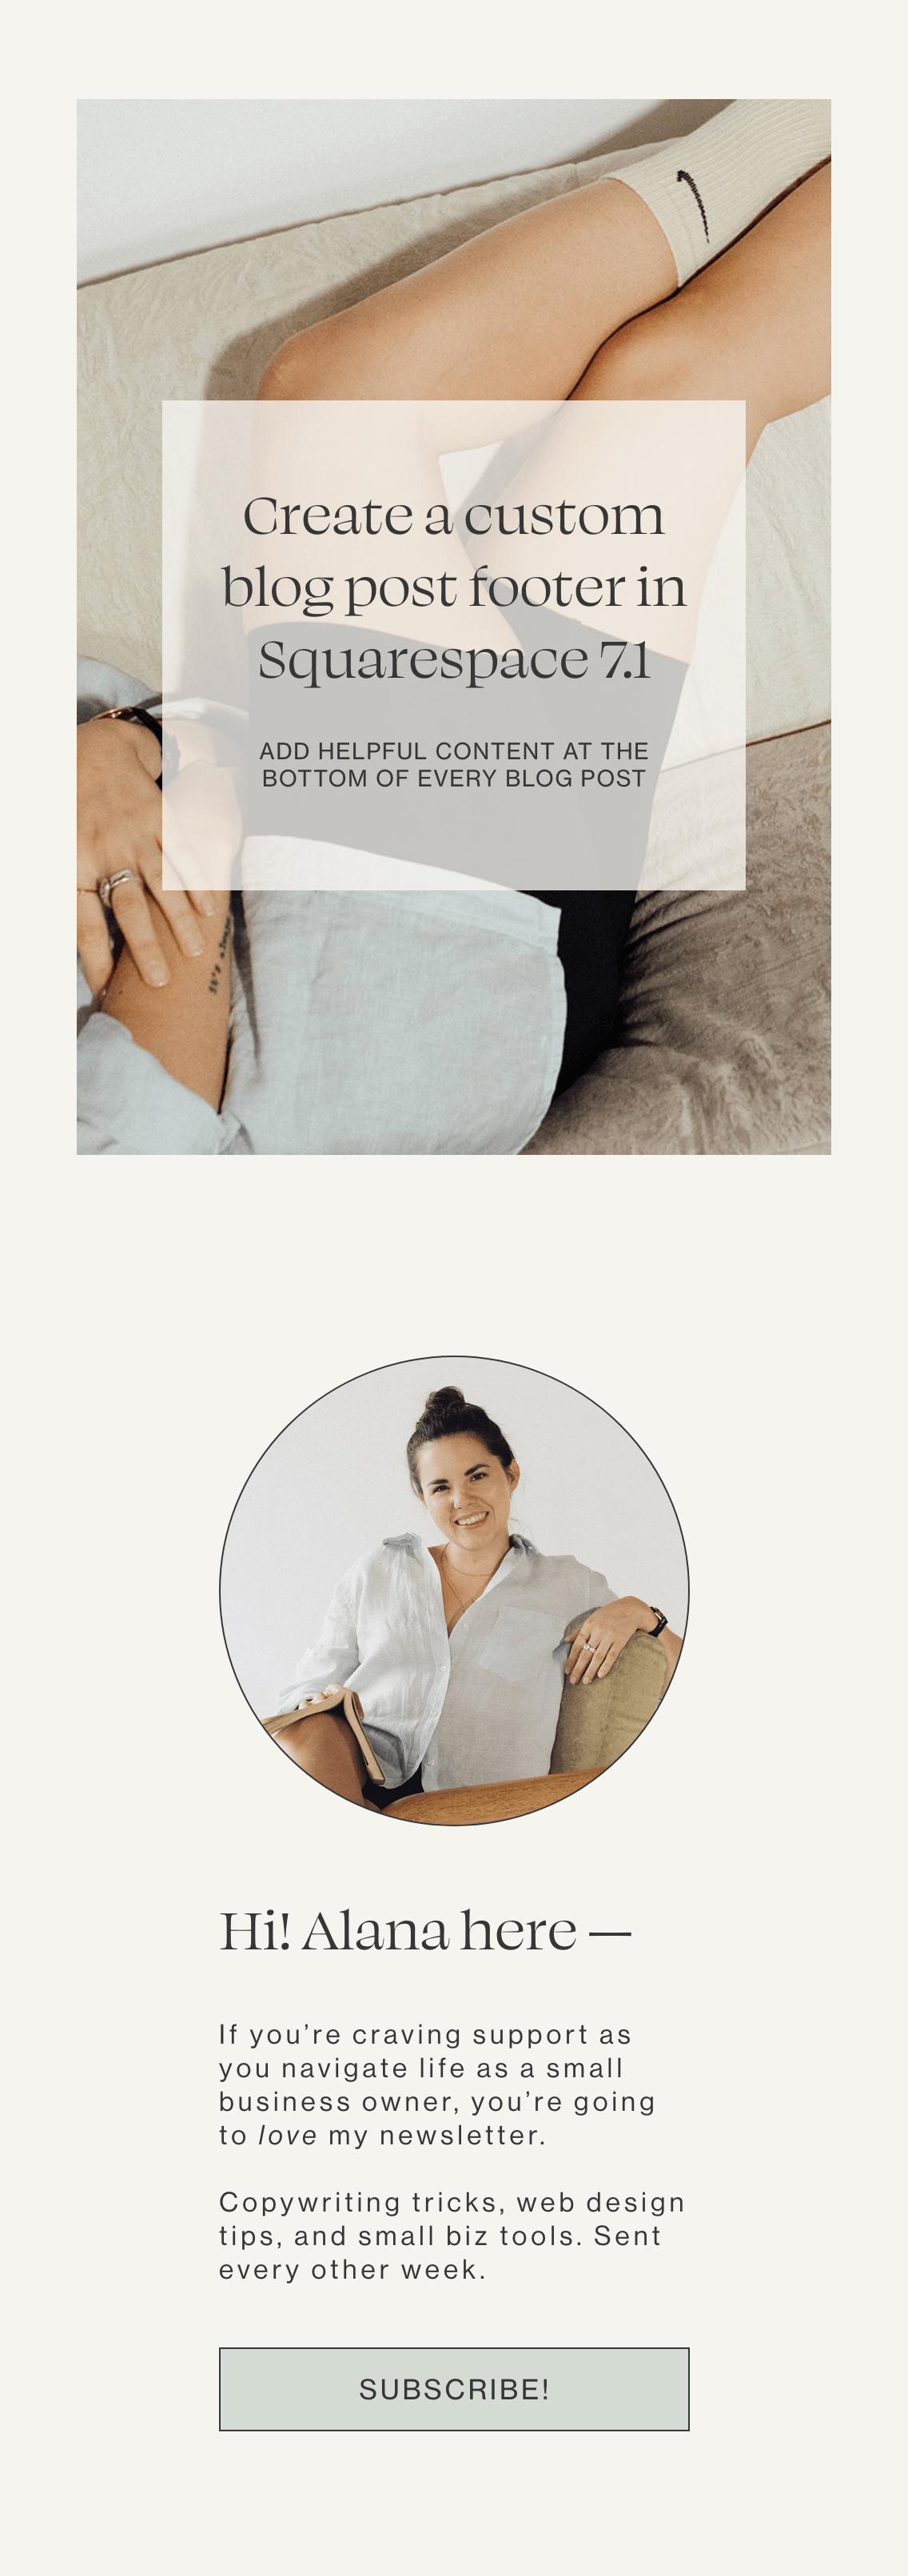
How to create a unique footer for your blog posts in Squarespace 7.1
A tutorial for creating a custom footer that only shows up on your blog post pages
Section Styles sticky-blog
When I started blogging more this year, I decided that I needed my blog posts to look beautiful (duh), and actively act as a selling tool (also duh).
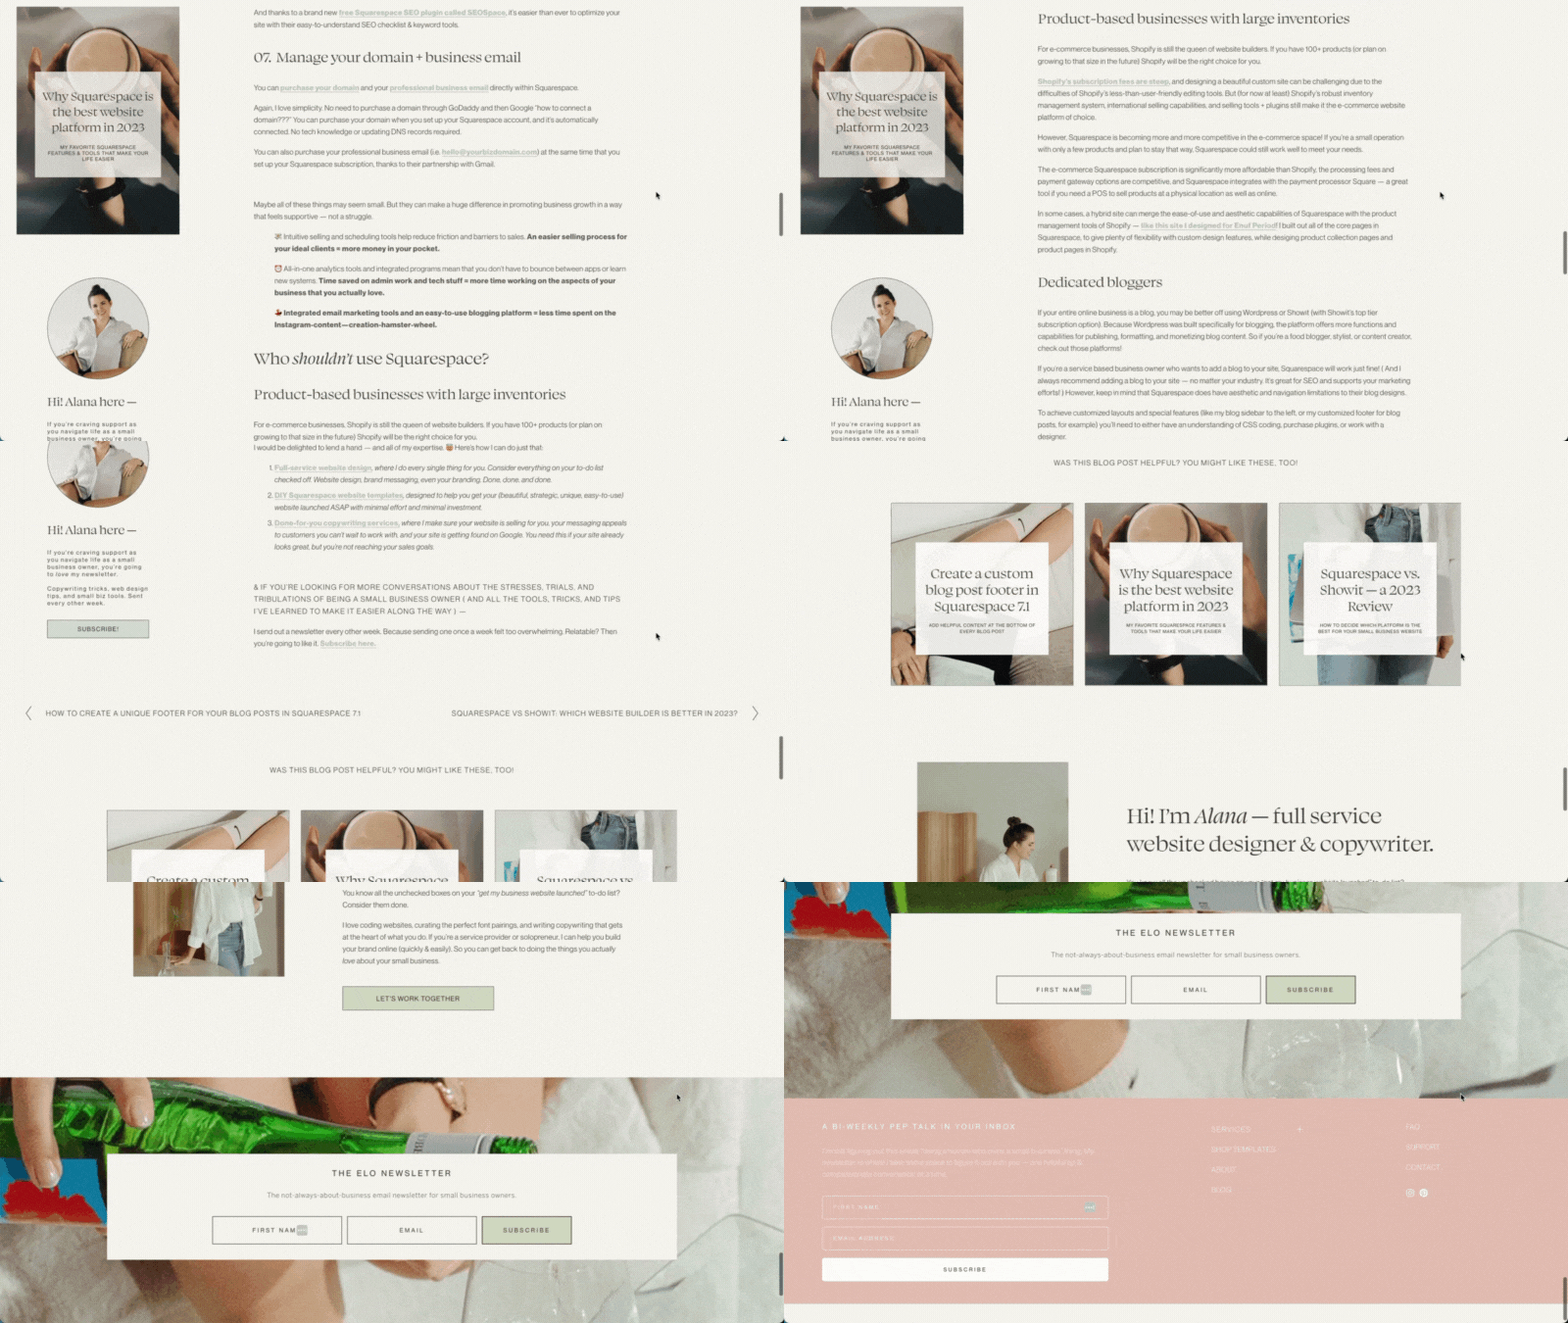
The quickest way to do this is by creating a section at the bottom of each post with various resources and calls to action —
Options to explore other blog posts. Details about me and my services. A prompt to sign up for my newsletter.
This is especially important because there's a high probability that someone reading your blog post is actually encountering your site for the first time. Let's say they found your blog post through a pin you posted on Pinterest, or through searching for this particular topic on Google. Your blog post is now the very first impression that they're getting of your website and your brand.
( This is also why blogging is such a powerful marketing tool. )
It offers a connection to your website that's far more direct and immediate than Instagram. Plus, once you publish something, the lifespan for piece of content is much longer than, say, your reels at the whims of the fleeting attention span of the Instagram algo.
Unfortunately, Squarespace hasn't yet updated blog post pages with their Fluid Engine editor – meaning that blog posts are a little bit more tricky to customize.
This tutorial will show you how to add a custom blog footer to your Squarespace 7.1 blog posts
Meaning that you can include evergreen content and calls to action at the bottom of every single blog post.
It will be automatically added to each new blog post you create, and any edit or change you make will be automatically updated across the entire blog. No tedious manual updates or copy/pasting on every single blog post required!
So, here’s how to do it –
Create your blog footer
First, you'll need to decide what you'd like to include in your blog footer. this can be anything you like and target any specific needs and goals you have for your blog!
Some ideas:
If you would like to grow your email list… encourage email signups by including a newsletter sign up block.
If you have a new course you just launched or a product you're trying to sell… include an enticing description and a link to the sales page.
If you want to capture new Instagram followers… you can include an Instagram preview block.
Once you've decided on the features, design, and calls to action you want to include you can add your content directly in Squarespace.
Open up any blog post on your site, and click edit.
Scroll all the way to the bottom and click “edit footer”.
At the top of your current footer, click “add new section”.
Add all of your content blocks within this new section.
( A QUICK NOTE: don't add more than one section here. we want to keep all of the content for our blog post footer in a single section, that way we can easily hide it on all of our other pages across our site. )
Once you've added all of the content for your blog footer, be sure to check your design on mobile view to make sure it looks beautiful. And be sure to open your page on a new browser window to check that everything looks correct out of edit mode.
Now that we've added the footer, you'll notice that it's still visible on every page across your site. So now it's time to hide it and make it visible only on your blog post pages!
Hide your blog footer on your other website pages
This requires a little bit of CSS, but don't worry — it's a simple copy/paste! No coding knowledge required.
Open your custom CSS panel by clicking the forward slash button “/” on your keyboard, anywhere from your editing panel. Type “CSS” in the search bar that appears and click on “Custom CSS”
( You can also get here by clicking “Website” > scrolling to the bottom to Utilities and clicking “Website Tools” > “Custom CSS” )
Once you’re in the CSS panel, copy and paste the code below:
/*------------------------------------
* HIDE BLOG POST FOOTER
------------------------------------/
body:not([class*=collection-type-blog].view-item) {
#footer-sections .page-section:first-child {
display:none !important;
}
}
( Note: if you’re using a template and there is already custom CSS code here, scroll all the way to bottom to paste this code! )
Click save, and that's it! refresh your site in a new browser tab and you'll see that this footer section is now hidden across your site. It will only appear on blog post pages.
To make any edits or changes in the future, simply open up any blog post, click “edit footer” and make your changes as needed. Keep in mind this will automatically update across all of your blog posts.
Run into any issues or have any questions about this tutorial? Shoot me a DM on Instagram!
Need some help designing your Squarespace website?
I would be delighted to lend a hand — and all of my expertise. 😇 Here’s how I can do just that:
Full-service website design, where I do every single thing for you. Consider everything on your to-do list checked off. Website design, brand messaging, even your branding. Done, done, and done.
DIY Squarespace website templates, designed to help you get your (beautiful, strategic, unique, easy-to-use) website launched ASAP with minimal effort & minimal investment.
Done-for-you copywriting services, where I make sure your website is selling for you, attracting customers you can’t wait to work with, and getting found on Google. You need this if your site already looks great, but you’re not reaching your sales goals.
& if you’re looking for more conversations about the stresses, trials, and tribulations of being a small business owner ( and all the tools, tricks, and tips I’ve learned to make it easier along the way ) —
I send out a newsletter every other week. Because sending one once a week felt too overwhelming. Relatable? Then you’re going to like it. Subscribe here.


