Create an Instagram Landing Page on Your Squarespace Website
How to use a custom IG landing page strategically to drive traffic and increase conversions.
If you have a website and are using Instagram for your business marketing, creating an Instagram landing page is essential. You want to make sure that all of the traffic generated from your marketing efforts is being led back to your site so that you can convert your followers into potential customers (bonus, it also helps your site SEO!).
Instagram still only allows one link in your bio - so you’d better utilize it strategically! An Instagram landing page is a catch-all page for multiple links, so that you can drive your audience directly to your service pages, your most recent content that you’ve plugged with a “link in bio”, or your latest sales and promotions.
What to put on your Instagram landing page
What you include on your landing page honestly depends on what makes the most sense for your business and what you’re trying to accomplish. Are you trying to drive more traffic to your blog? Get more email subscribers? Sell a product? Inform your followers about your services?
You can use your IG landing page to support these goals and more. You can link:
Your latest or top-performing blog posts
Free resource or guide download
Your services page or portfolio page
Email newsletter sign up
New product or course offering
Your latest sale or promotion
Giveaway or brand collab offer
The most important thing to think about is where you want to drive the most traffic and what goals you want to achieve. It’s helpful to take a look at your website traffic through Squarespace or Google Analytics to see what pages on your site are currently seeing the most traffic. Are you happy with the current highest-ranking pages, or are there pages that you want to funnel more traffic to? An IG landing page is a great way to increase traffic for the pages that are most important for your business goals.
Here’s how to create a quick and easy Insta-landing page in Squarespace that looks professional and leads to conversions!
Create your new Instagram landing page in Squarespace
Under Pages in your Squarespace navigation, create a new blank page in your Not Linked section. Title it “instagram” or “navigation” - something simple so that it’s easy for you to identify, but your URL slug in your Instagram bio will show up looking clean and short. (ex: yourURL.com/instagram instead of yourURL.com/instagram-landing-page)
Create your navigation buttons
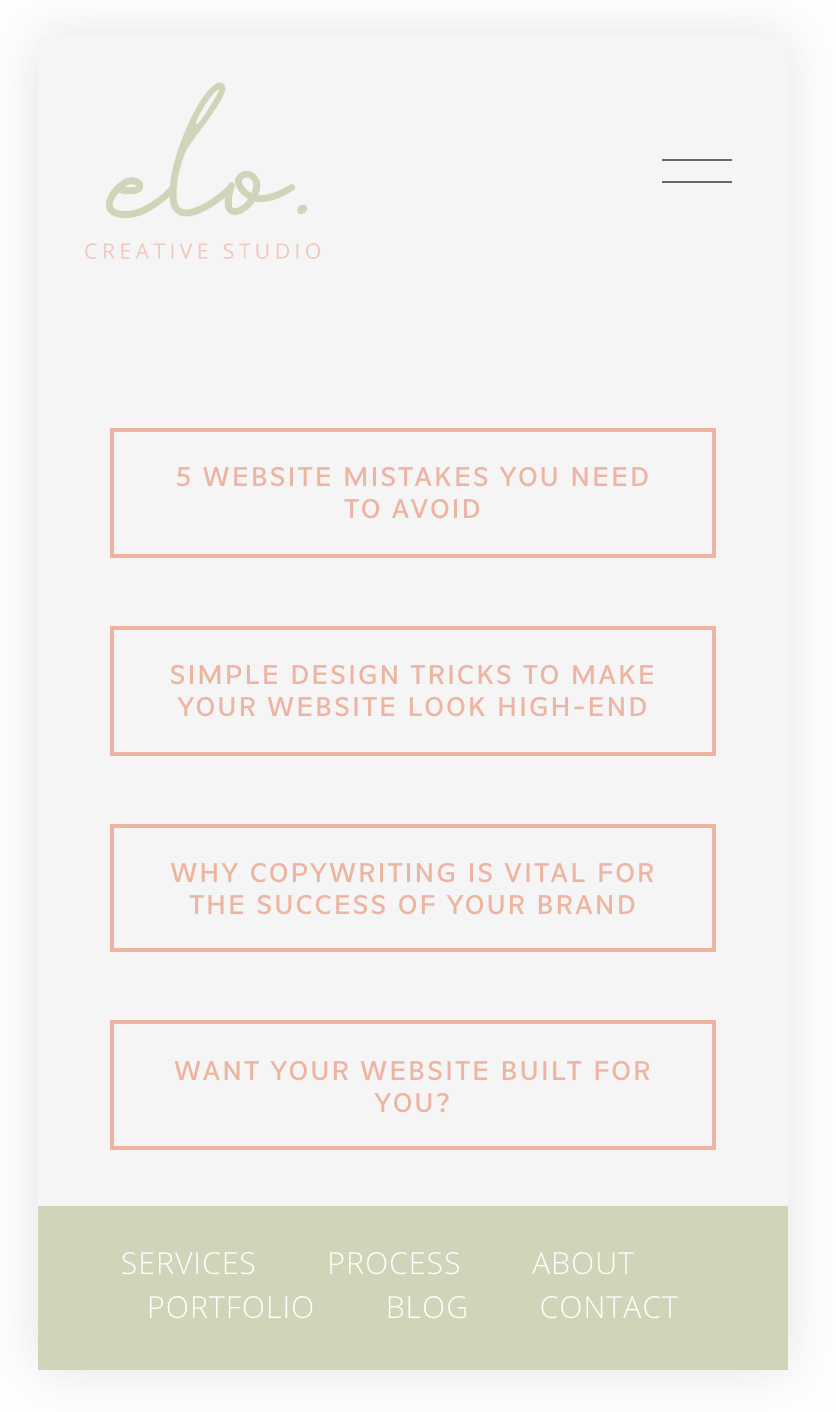
You can get creative with your page by adding a custom background or an image, whatever works best for your brand! I like to keep it simple with a plain background to keep the focus on the Call to Action buttons. Add a new section on your page, and add as many buttons as you need.
Customize your landing page buttons with CSS
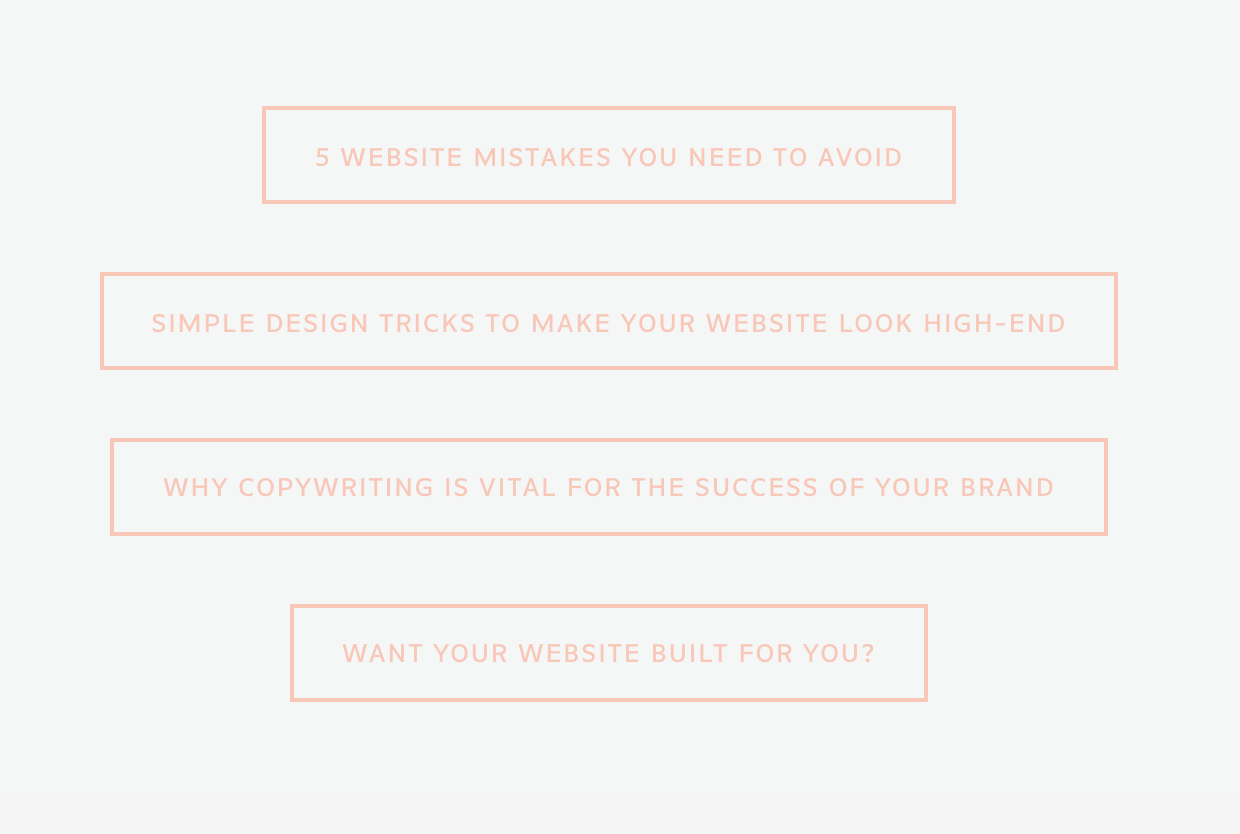
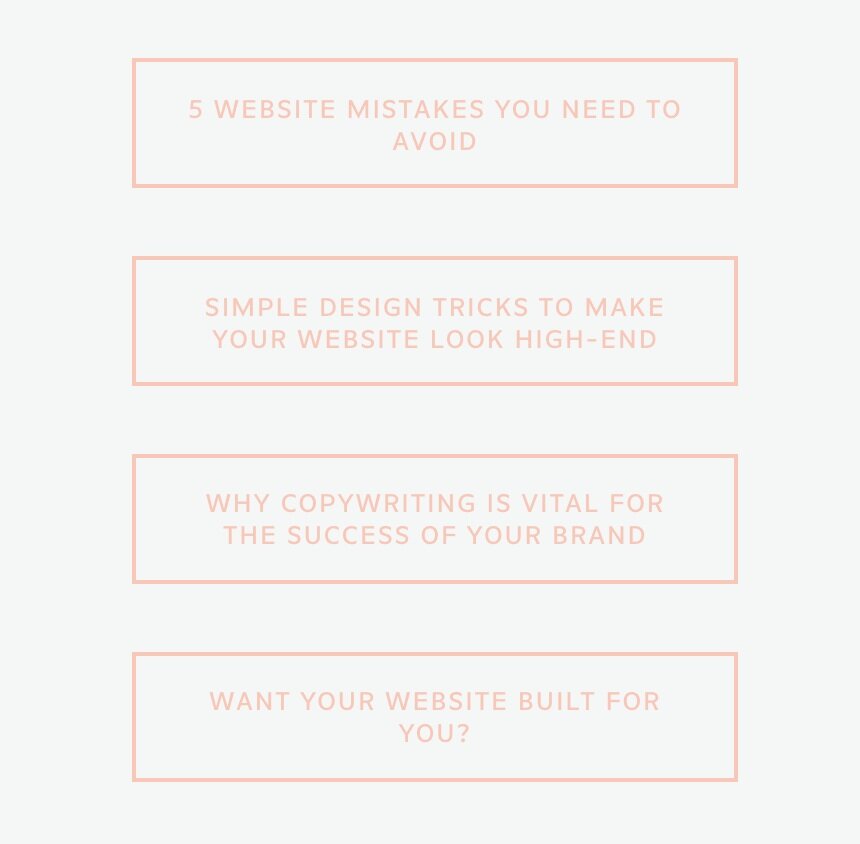
You can use an easy CSS trick to standardize the width of your buttons so that they are all the same size regardless of the button text, which looks great on mobile!
Before
After
STEP NO. 01
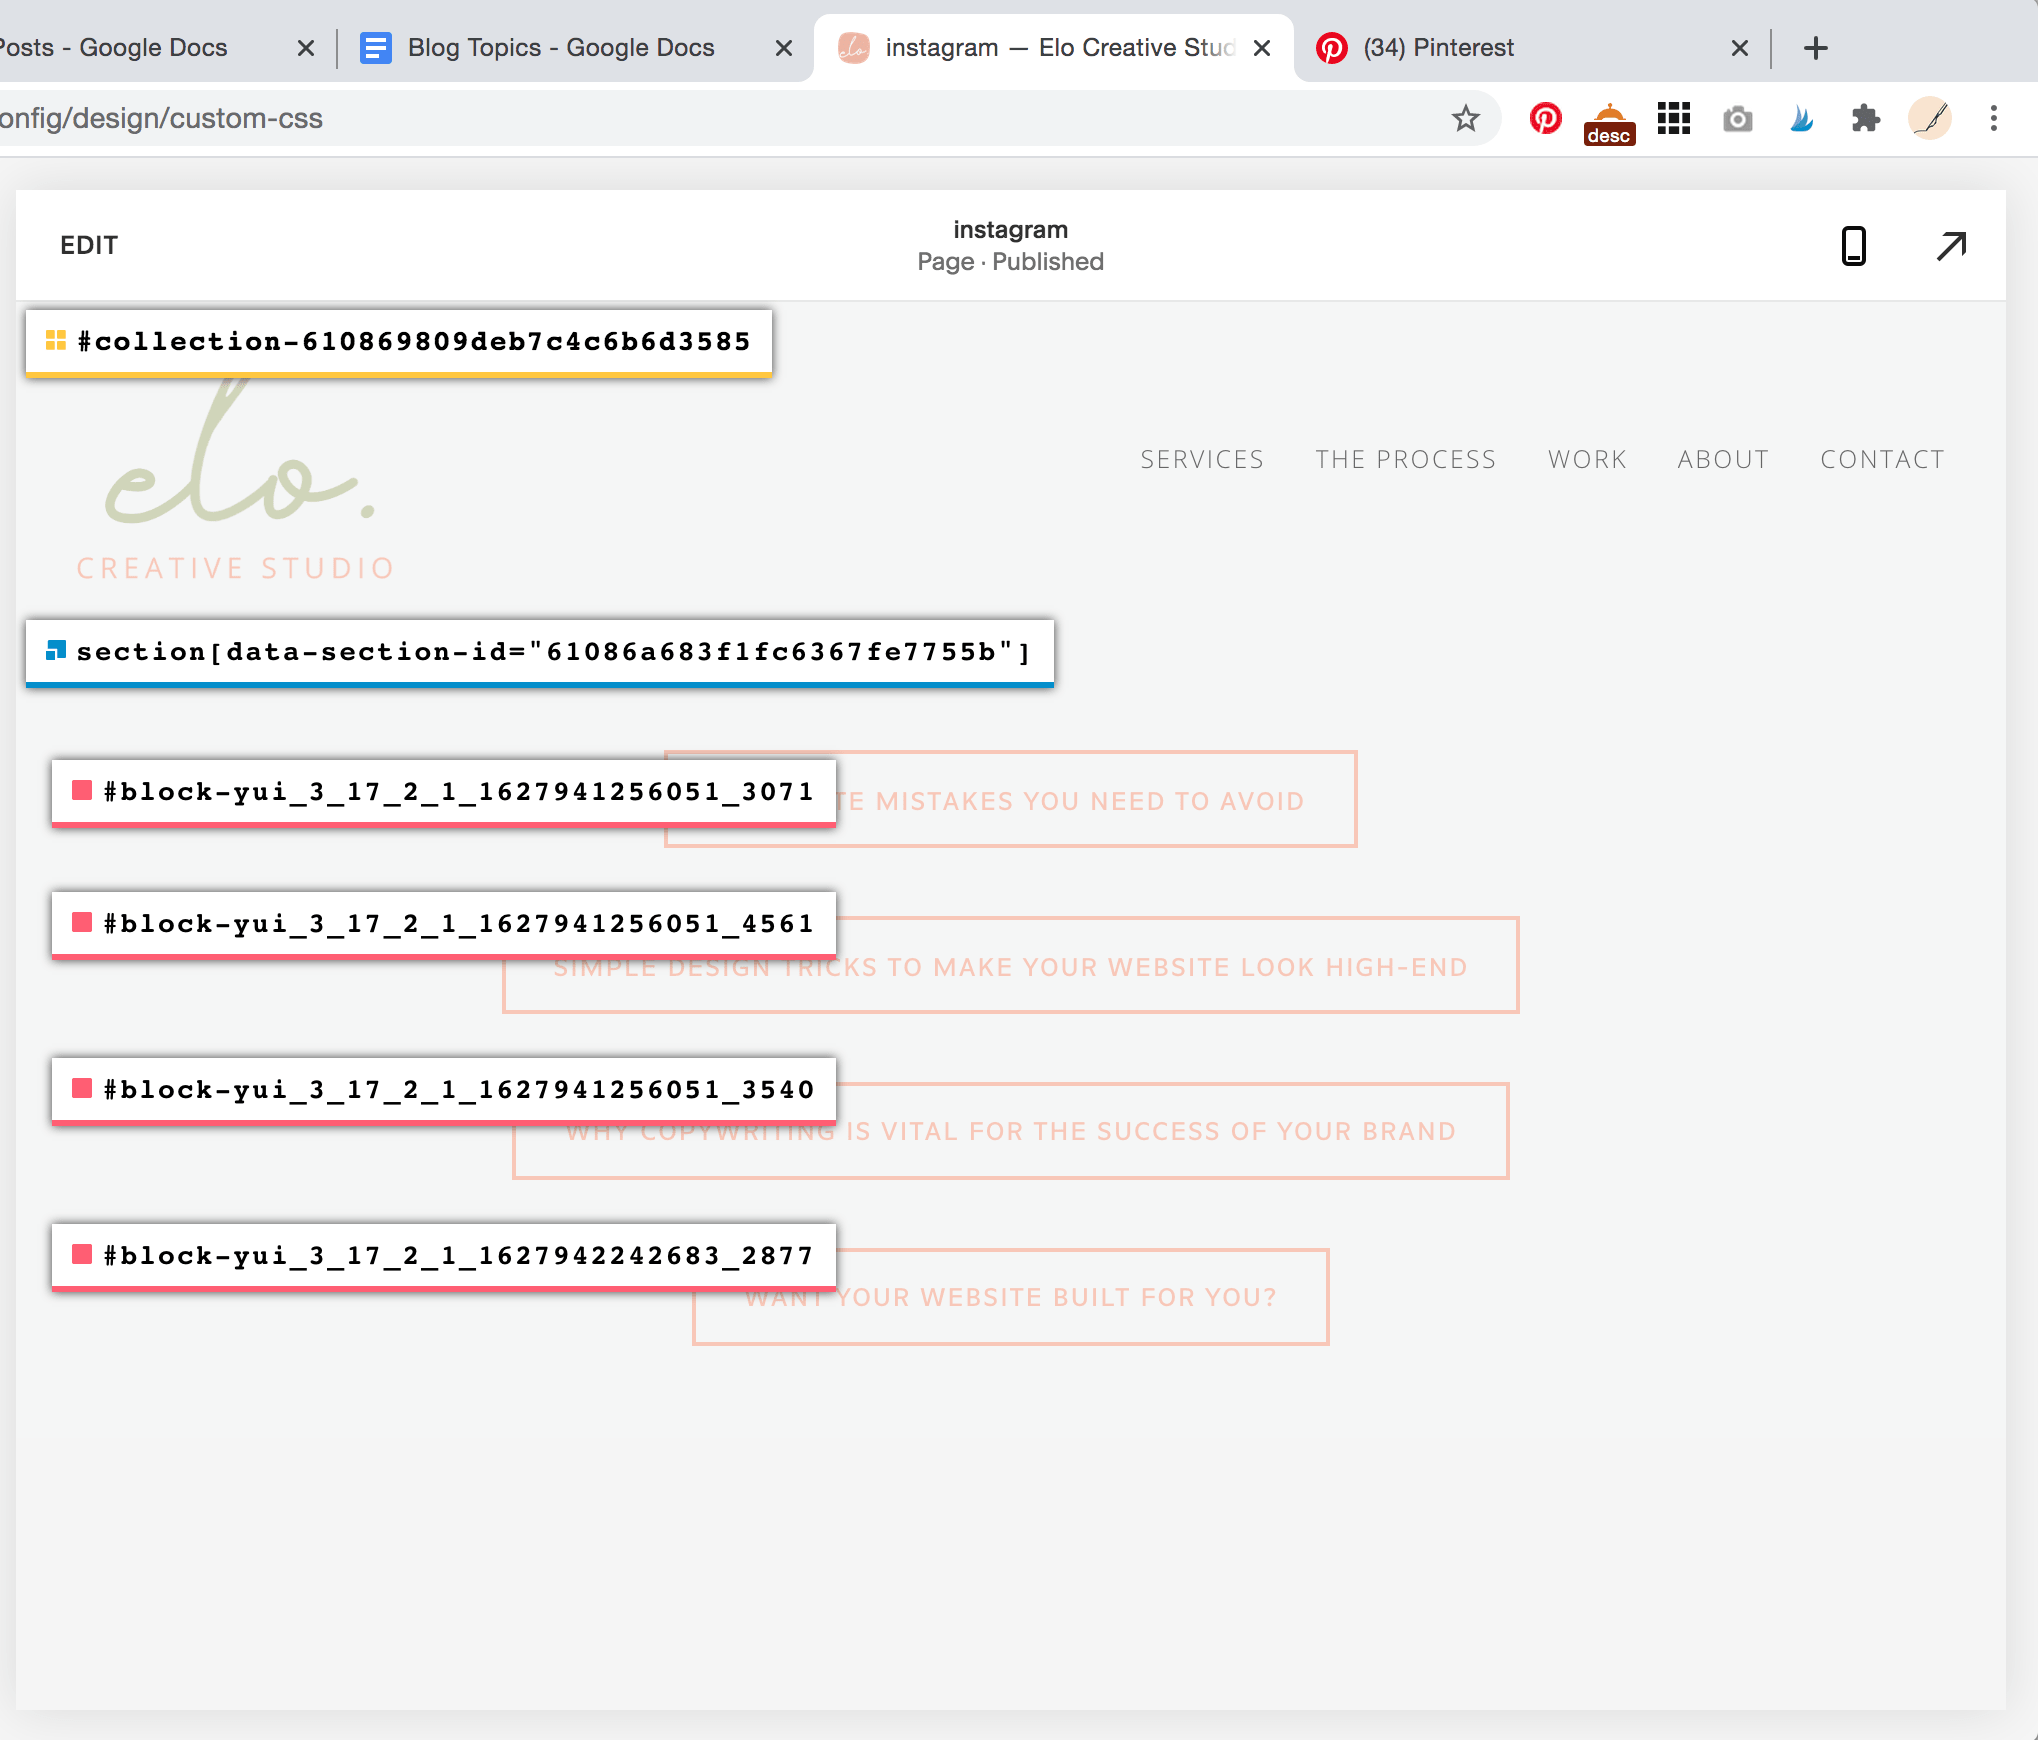
To customize your landing page buttons with CSS, you’ll first need to find the section ID of the page (otherwise, this change will affect every button on your website). You can do this by using a simple Google Chrome plugin, Squarespace ID Finder.
Once you’ve installed the plugin, simply click the icon in your browser extensions list (it’s a 3x3 grid of black squares), and all of your page IDs will become visible. You’re looking for the section ID in blue. Click it to copy to your clipboard, and paste it in a word document or notepad - we’ll use it in a moment!
STEP NO. 02
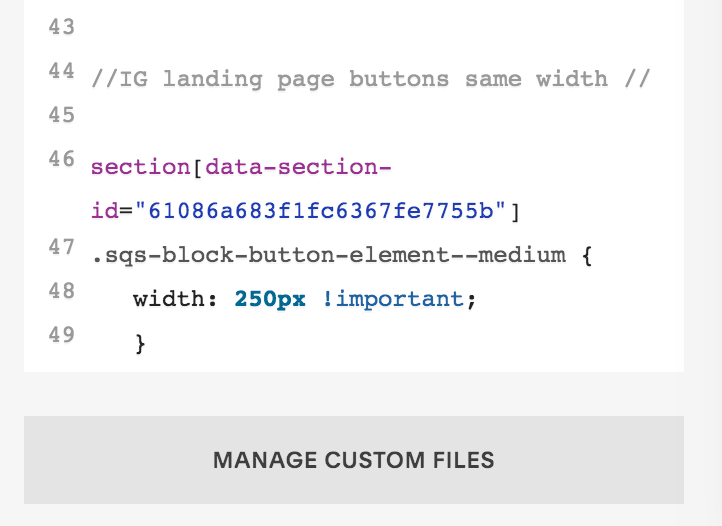
Now go to Design > Custom CSS. Paste in the below code:
// IG landing page buttons //
section[DATA SECTION ID HERE]
.sqs-block-button-element--medium {
width: 250px !important;
}
Replace the bolded portion in the first line with your page’s section ID that you just copied. It should end up looking something like this:
STEP NO. 03
Toggle to mobile view in Squarespace to make sure that your buttons are the correct width. You can always adjust the button size by increasing or decreasing the width in the last line of CSS above (i.e. 350px or 150px)
Remove your footer from your landing page
I’m a big fan of removing the footer from your insta-landing page. Why? Footers can be visually distracting on a landing page and draw away from your main CTAs in this context. Your audience has presumably clicked on your link in bio to take them directly to content that they were interested in on your feed. Make it as easy as possible for them to find that content by focusing their attention on the buttons that you’ve designed for that purpose.
Removing your footer from the landing page is quick and easy.
Before
After
Go to your Pages panel in your Squarespace menu and find your Instagram landing page. Click on the gear icon to open the page settings.
Click Advanced to open the header code injection options. (Note: you will need a Business or Commerce Squarespace plan to use this feature.)
Paste the below code into your page header code injection. This will hide your footer on this page only - it will not affect your footer on the rest of your site pages.
<style> #footer-sections {display:none!important} </style>
Click save and close out.
You can also remove your header with a similar code, however, I don’t recommend it. In my opinion, keeping the main site header visible on your landing page is incredibly valuable and offers the best user experience. Viewers can prioritize your button navigation, but having the option to click on your main menu navigation gives them even more options to explore your site and your products/services. Seeing your logo in the navigation also reinforces brand awareness.
Testing, launching, and analytics
After you’ve checked and double-checked your links and viewed your page from your mobile screen to make sure the formatting is perfect, your landing page is ready to launch! Plug the page link into your Instagram bio, and use your website analytics to track the success of your landing page. This is an often overlooked but important piece of using a landing page. Obviously, you want to see traffic flowing to the IG landing page itself - but you want to see way more than that.
If you’re getting clicks to the landing page, but you’re not seeing any traffic to the actual content that you’re showcasing, you need to do some more research on your IG audience.
What is it that they’re actually looking for?
What can you provide them that offers value and engagement?
Are they the right audience for your business?
This can be a good litmus test to see if the type of content that you’re putting on Instagram and the marketing strategies that you’re using are in alignment with your business ethos and goals.
If you’re seeing a bunch of traffic to some content but hearing crickets for other pages, you can make simple tweaks to your landing page to optimize it! Perhaps you have too many options and it’s overwhelming to your audience, or maybe your button copy isn’t as clear or intriguing as it could be. Use tools like CoSchedule’s Headline Studio to help you write better headlines, and play around with adding, removing, or re-ordering your buttons if needed. Make note of what content is driving the most traffic and getting the most engagement, and use that knowledge to drive your ongoing content creation and marketing plans.
Last but not least, don’t forget to update this page!
It’s all too easy to forget about this little space, but it’s a big no-no to end up directing your followers to outdated content or broken links. It’s an easy way to lose trust and credibility with your audience. Update it with the new link right before you make a related IG post, and set a reminder to your calendar to check your landing page weekly, just in case.
And there you have it! Everything you need to build a successful Instagram landing page that will help you engage with your followers and convert them into potential clients/customers.
Was this tutorial helpful? Have any questions? Drop me a line in the comments below!


